Azure Functions v2 with Kubernetes
What you will learn
In this post you will learn how to deploy and run a simple .Net Core Azure Function v2 in Kubernetes. This will involve creating a Docker image that includes your function and the Azure Function Runtime. You will publish your function container image to Azure Container Registry and from there, you will deploy the container to K8s and then expose a k8s service to allow ingress to your function endpoint.
What you will need
- Microsft Azure Account
- Azure CLI 2.0
- Docker
- Azure Functions Core Tools
- Azure Container Registry - You could use Docker Hub but that’s not covered here. If you are not familiar with Azure Container Registries, have a look at my previous post.
- Azure Kubernetes Service - You could use any Kubernetes instance. If you’ve never provisioned an Azure Kubernetes Service before, take a look at this great AKS and Graphana workshop put together by Microsoft MVP @dscottraynsford
Part 1 - Create and Run an Azure Function
Part 1 of this post will show you how to create and run a new Azure Function via the Azure Functions Core Tools CLI.
Step 1 - Create a new Azure Function App
Azure Functions Core Tools gives you the ability to scafold new Azure Function Apps quickly via the command line. The core tools include a --docker flag which will create a Docker file when setting up the new project.
Run the following and select dotnet as the runtime.
# Create a new Azure Function App
func init MyAksFuncApp --docker --no-source-control

Inspect the project thats been created and notice the Dockerfile which should look similar to this
FROM microsoft/azure-functions-dotnet-core2.0:2.0
ENV AzureWebJobsScriptRoot=/home/site/wwwroot
COPY . /home/site/wwwroot
Step 2 - Create a new Http Triggered Azure Function
Make sure to change directory to the MyAksFuncApp folder that you created in the previous step.
# Change working directory
cd .\MyAksFuncApp\
Run the following command and then choose HttpTrigger from the list of options.
# Create a new Azure Function
func new --name MyAksFunc

Inspect the files that have been created. You will see a .cs file with your functions name. The function that has been created is a simple http triggered function that takes a name as a query string and returns that text in a response. Checkout the Azure Functions Docs for more information on function triggers and bindings.
Step 3 - Build and run your function
Before building your function, for the purpose of this post, we are going to set the functions authorization level to anonymous. This will allow you to invoke your function later on without requiring a function key. For more info, checkout the authentication keys section in the Azure Function Docs.

To build and execute your function run the following.
# Build and run the Azure Function
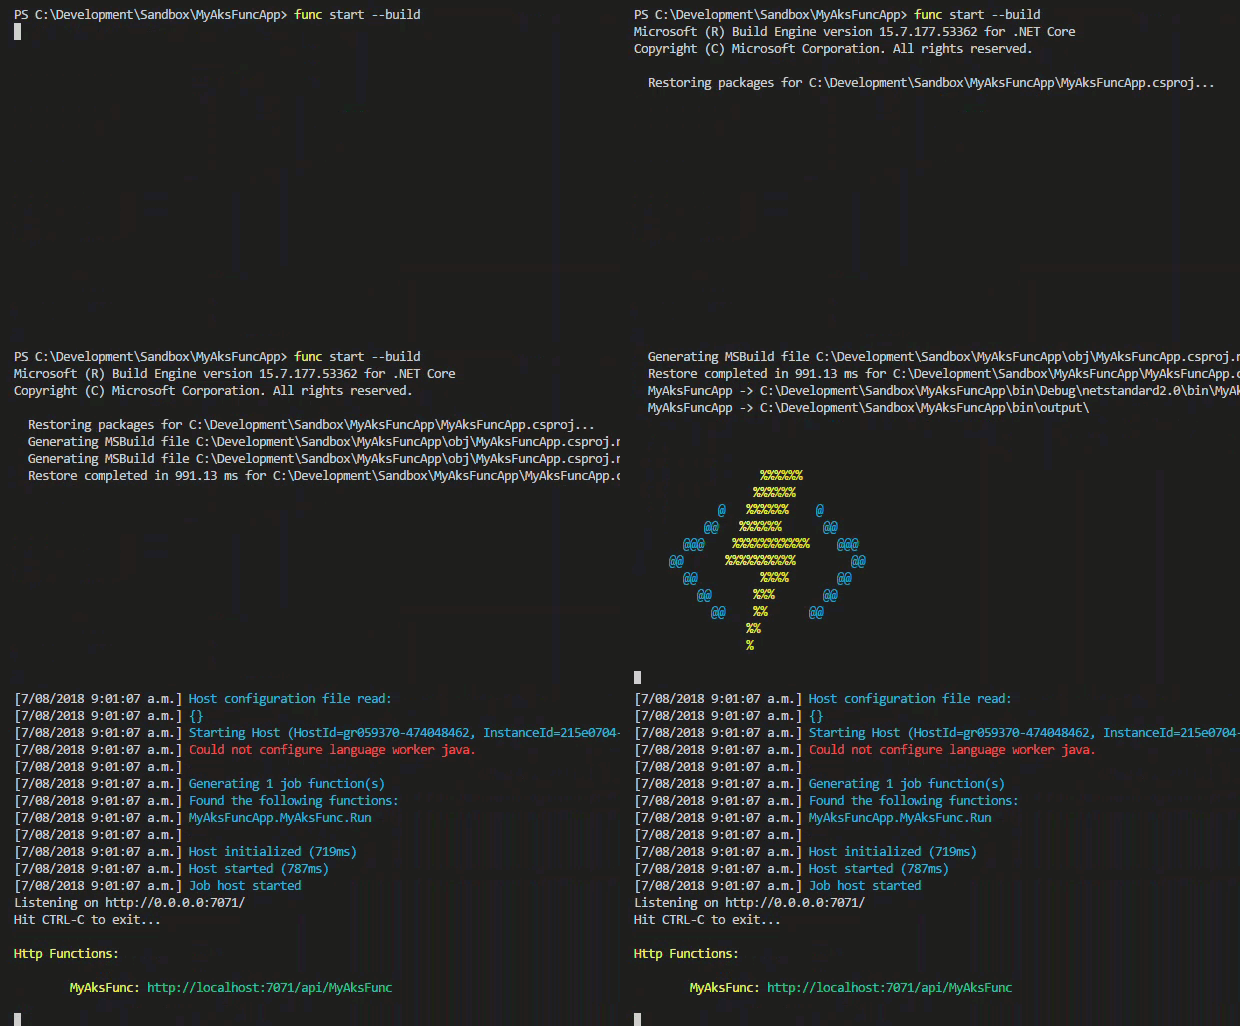
func start --build

Open the function url in your browser. Add a query string parameter for your name and send the request. You should see a response similar to below.

Part 2 - Build and run your Azure Function in a Docker Container
Step 1 - Temporary workaround for compiled functions
There is a known issue with compiled functions at the moment that require the --build flag to be included when running a function locally. This means that you will need to build your Docker image from the output folder that was created when you compiled your function. There is an issue open on GitHub.
Copy the pre generated Dockerfile from the root directory to ./bin/output and then change your working directory to this location
# Copy the Dockerfile to the target directory
cp Dockerfile .\bin\output\
# Change working directory
cd .\bin\output\
The next step will build your docker image from this location. Once this issue is resolved, you should be able to build your docker image from the root directory of your project.
Step 2 - Create a Docker Image
Start off by building a Docker image that includes your function and the Azure Functions runtime. The Dockerfile that was created at the start will pull down the functions runtime image from docker hub. In this instance I’ve taged the docker image with the Azure Container Registry repository we created in a previous post.
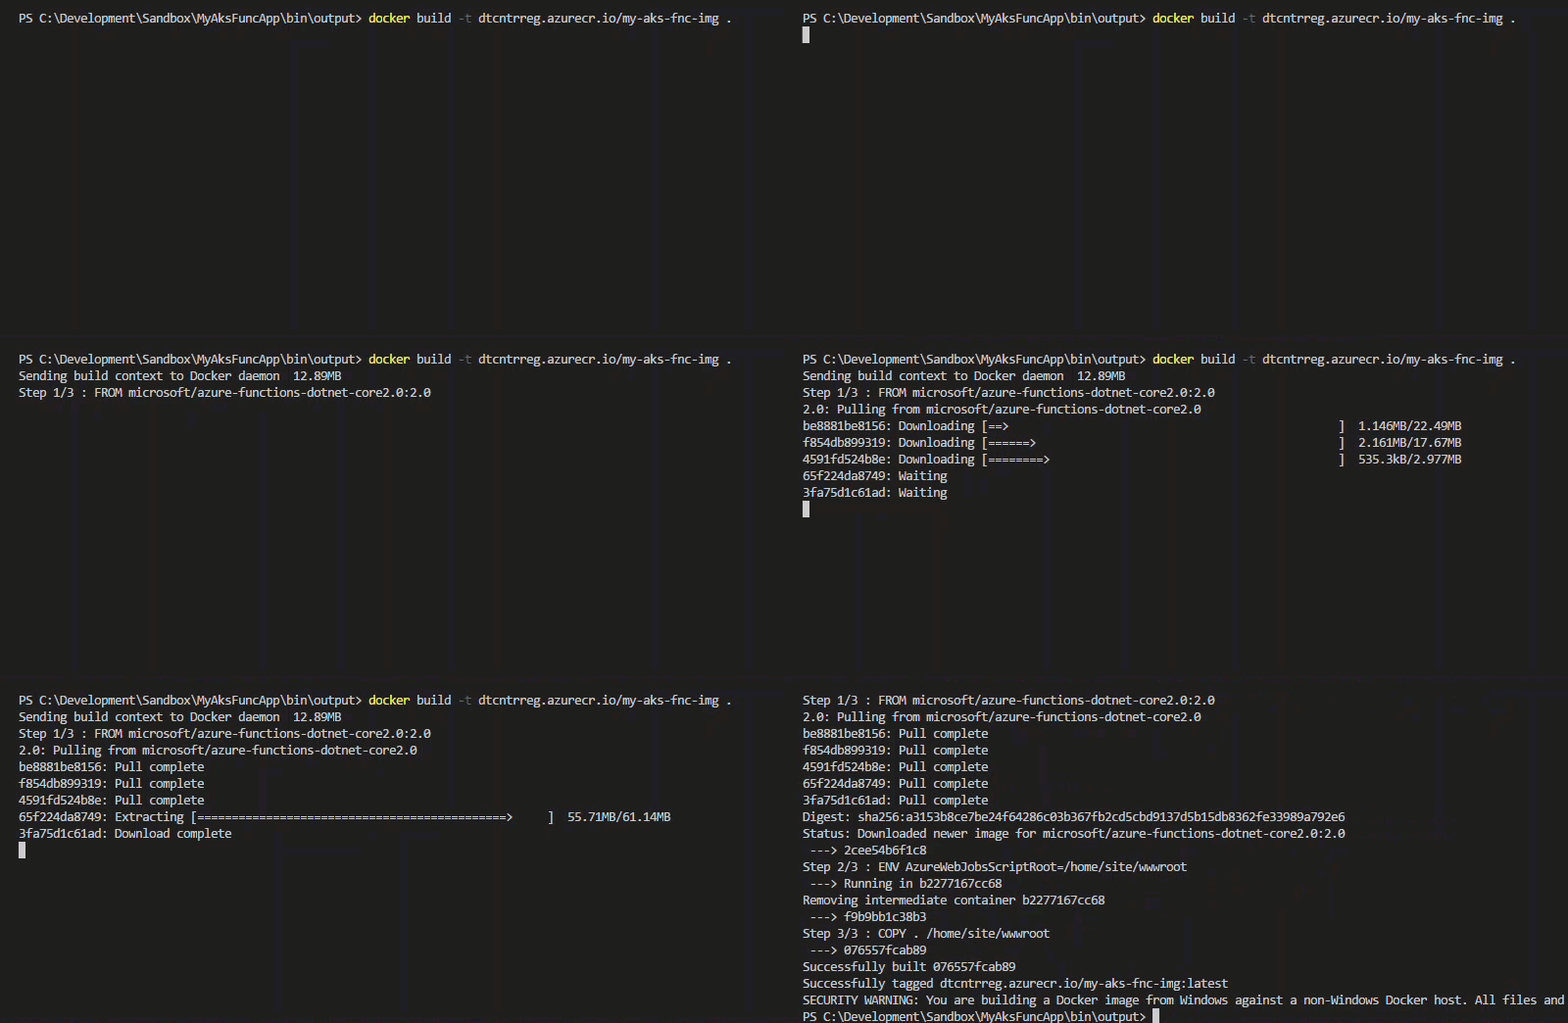
To build your docker image run the following. (Don’t miss the period at the end of the command)
# Build a docker image with a tag
docker build -t <acr-name>.azurecr.io/my-aks-fnc-img .

Step 3 - Run your Docker image locally
Lets spin up a Docker container with the image of your Azure Function to check that everything is still working as we’d expect.
# Run a docker image and expose port 80
docker run --rm -p 80:80 dtcntrreg.azurecr.io/my-aks-fnc-img:latest
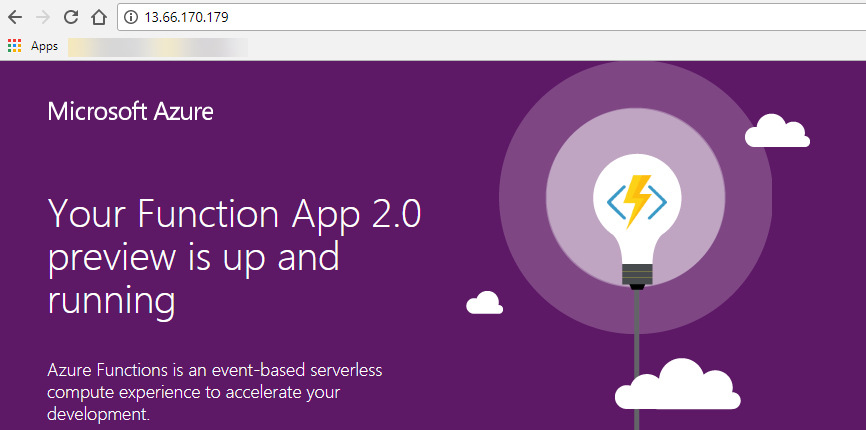
Now open up localhost in your browser and you should see something similar which indicates that your function host is running. Notice that your function is running on port 80 as per the command above. You can also add /api/MyAksFunc to test your function just like before.

This is an awesome milestone! You now have an Azure Function running inside a Docker container on your local machine!
Step 4 - Publish your Docker image to Azure Container Registry
Now that we have a working Azure Function and a tagged Docker image, you are ready to push your image to your Azure Container Registry.
Refer back to Part 2 of my ACR post if you’ve forgotten your username or password.
# Login to ACR from Docker
docker login {YourAcrName}.azurecr.io --username <acr-service-principal-name> --password <acr-service-principal-password>

Finally push the image to your ACR instance
# Push the docker image to Azure Container Registry
docker push {YourAcrName}.azurecr.io/my-aks-fnc-img

Part 3 - Run your Azure Function in Kubernetes
Step 1 - Connect to your Azure Kubernetes Service
Lets switch it up and work from the Azure Cloud Shell from here.
You can still follow along from your local machine provided you have Azure CLI 2.0 installed.
Kuberenetes has the concept of contexts which allows you to switch between different Kubernetes clusters. Configure kubectl to connect to your Kubernetes cluster
az aks get-credentials --resource-group <your-aks-resource-group> --name <your-aks-resource-name>

To check Kubectl is set to the correct context run
kubectl config current-context
Step 2 - Configure AKS to pull images from ACR
The next step is to configure Kubernetes to pull images from your prive Azure Container Registry. Kubernetes will, by default, try and pull images stored locally or from Docker Hub. To pull images from ACR you need to give your AKS service principal the reader role to your ACR instance.
See the AKS and ACR Microsoft Docs for more detailed information.
The script below is adapted from the AKS and ACR Microsoft Docs
#!/bin/bash

AKS_RESOURCE_GROUP=<your-aks-resource-group>
AKS_CLUSTER_NAME=<your-aks-cluster-name>
ACR_RESOURCE_GROUP=<your-acr-resource-group>
ACR_NAME=<your-acr-instance-name>

# Get the id of the service principal configured for AKS
CLIENT_ID=$(az aks show --resource-group $AKS_RESOURCE_GROUP --name $AKS_CLUSTER_NAME --query "servicePrincipalProfile.clientId" --output tsv)

# Get the ACR registry resource id
ACR_ID=$(az acr show --name $ACR_NAME --resource-group $ACR_RESOURCE_GROUP --query "id" --output tsv)

# Create role assignment
az role assignment create --assignee $CLIENT_ID --role Reader --scope $ACR_ID
Step 3 - Setup a LoadBalancer service to allow external traffic to your container
Run the following script to create a new Kubernetes deployment with your Azure Function Docker image.
kubectl run dt-aks-fnc-app --image=dtcntrreg.azurecr.io/my-aks-fnc-img --port=80

Now lets check the status of the pod thats been created as part of your deployment.
kubectl get pods

Finally, lets exopse the Kubernetes container running your Azure Function with a load balancer. Another good option would be to create an ingress but thats possibly for another post. Have a look at this post for more info about the different options for getting external traffic to your k8s services.
kubectl expose deployment dt-aks-fnc-app --type=LoadBalancer
Notice I ran the below command a couple times as it took a few moments for my load balancer service to expose an external ip addres.
kubectl get svc

Step 4 - Test your Azure Function running in Kubernetes
Notice the external ip address provided by the LoadBalancer service. Thats the address you will be able to trigger your function from. Go ahead and put this into your browser, you should see the Azure Functions Runtime page. Add /api/MyAksFunc?name=dave to hit your functions endpoint.


Awesome job if you got this far! You now have an Azure Function that you created from scratch, built into a Docker image, deployed to Azure Container Registry and running in a Azure Kubernetes Service.

